
Categories
5. ✨ Streak-Free Stainless Steel
SKU BLOG-HK-CLEAN-005
AU$0.00
Have questions?
In stock
1
Save this product for later
5. ✨ Streak-Free Stainless Steel
Product Details
✨ Streak-Free Stainless Steel: Clean Without the Smears
🌟 The secret to a polished finish isn't more cleaner — it's less residue, the right direction and a good final buff.
Stainless steel looks wonderfully clean when it's clean.
But fingerprints, water marks, grease and streaks can make a perfectly clean surface look untidy again almost immediately.
And if you've ever wiped your stainless-steel appliance only to discover more streaks than when you started, you're not alone.
The good news is that getting a better finish isn't necessarily about using more cleaning product or scrubbing harder.
It's about understanding the surface and finishing the job properly.
🔍 Why Does Stainless Steel Show Everything?
Stainless steel is durable, but its smooth surface can make fingerprints, grease and water marks particularly noticeable.
Many stainless-steel surfaces also have a visible grain — fine lines running in one direction across the finish.
That grain matters.
When wiping or cleaning a traditional brushed stainless-steel surface, working with the grain can help produce a more even-looking finish and reduce the chance of visible wipe marks.
Manufacturer care guidance commonly recommends cleaning and polishing in the direction of the grain.
✨ The Simple Stainless-Steel Formula
For everyday cleaning, remember:
🧽 CLEAN → 💧 RINSE → ✨ DRY → 🌟 BUFF
It sounds simple, but the final two steps are often what make the difference.
- 🧽 CLEAN — remove grease, fingerprints and dirt.
- 💧 RINSE — remove leftover cleaning residue where appropriate.
- ✨ DRY — don't leave water sitting on the surface.
- 🌟 BUFF — give the dry surface a final gentle polish with microfiber.
🧼 Start With Warm Soapy Water
For ordinary fingerprints, food splashes and everyday grime, you often don't need an elaborate homemade recipe.
Start with:
- 💧 Warm water
- 🧼 A small amount of mild dishwashing liquid
- 🧽 A soft, non-abrasive cloth or sponge
- ✨ A clean microfiber cloth for drying
Clean a small section at a time, following the direction of the grain where the grain is visible.
Then remove any remaining residue and dry the surface thoroughly.
Whirlpool's stainless-steel care guidance similarly recommends warm, soapy water, a non-abrasive sponge and a clean microfiber or soft cloth for traditional stainless steel.
🧭 Find the Grain
Not sure which way the grain runs?
Look closely at the stainless steel under good lighting. You may see very fine lines running horizontally, vertically or in another consistent direction.
Once you've found it:
🧽 Wipe with the grain rather than randomly rubbing in circles.
This is especially useful when cleaning larger appliance doors, rangehoods, sinks and other brushed stainless-steel surfaces.
For surfaces where the grain isn't obvious, follow the manufacturer's care instructions rather than assuming a particular cleaning direction.
💧 What Causes Those Annoying Water Marks?
Sometimes the stainless steel is clean but still looks spotted.
The culprit may simply be water or mineral residue left behind after cleaning.
This is why drying matters.
After wiping the surface, use a clean microfiber cloth to remove remaining moisture.
Don't let droplets simply air-dry if you're trying to achieve a polished, streak-free finish.
🧪 What About Vinegar?
Vinegar is often recommended as a stainless-steel cleaning trick, and it can be useful on some traditional stainless-steel surfaces. CHOICE, for example, lists diluted vinegar among methods that can work on some stainless-steel exteriors.
But here's another important lesson from our 🧱 Bathroom Grout Cleaning article:
Don't assume that a cleaning ingredient is suitable for every finish just because it worked somewhere else.
Some manufacturers specifically advise against vinegar-based cleaners on particular stainless-steel finishes, including some fingerprint-resistant surfaces.
So before using vinegar:
- 🔍 Check the appliance or surface manufacturer's instructions.
- 🧪 Test an unfamiliar method in an inconspicuous area.
- ✨ Don't assume traditional stainless steel and specialty finishes have identical care requirements.
🧽 When the Surface Is Greasy
Fingerprints are one thing. A greasy stainless-steel rangehood or appliance can be another.
Start with warm water and a small amount of suitable dishwashing liquid.
Work in small sections rather than spreading grease over the entire surface.
Once the grease has been removed, wipe away residue and dry thoroughly.
For particularly stubborn build-up, a purpose-made stainless-steel cleaner may be more appropriate — provided it is compatible with the finish.
✨ Cleaning Isn't the Same as Polishing
This is an easy distinction to miss.
Cleaning removes dirt, grease, fingerprints and residue.
Polishing is about improving the appearance of an already-clean surface.
If you keep adding cleaner because the stainless steel doesn't look shiny enough, you may actually be leaving more residue behind.
Instead:
🧽 Clean first. ✨ Dry completely. 🌟 Then buff.
A clean microfiber cloth is ideal for that final finishing step.
🌟 Our Microfiber Finishing Trick
For a final polish on suitable smooth surfaces, our Microfiber Lens, Screen, Glass & Jewellery Cleaning Chamois can be used as a handy finishing cloth.
Use it on a clean, dry surface to pick up remaining fingerprints and fine residue and help achieve a more even finish.
A little buffing is often more useful than another spray.
🧽 For Stubborn Marks
If an ordinary wipe isn't enough, a suitable non-scratch cleaning sponge can help with some stubborn marks on compatible hard surfaces.
Our Multi-Purpose Stain-Removing Cleaning Sponge is designed for stubborn marks on suitable surfaces, including stainless steel and other hard household surfaces.
Use gently and test first.
Stainless steel can scratch, and a cleaning tool that is too abrasive can leave a mark that is much harder to remove than the original dirt.
⚠️ Stainless Steel Cleaning Don'ts
- ❌ Don't use steel wool or harsh metal scourers.
- ❌ Don't scrub aggressively just to remove a stubborn mark.
- ❌ Don't use abrasive powders unless the manufacturer specifically allows them.
- ❌ Don't assume vinegar is safe for every stainless-steel finish.
- ❌ Don't leave water or cleaner residue sitting on the surface.
- ❌ Don't randomly wipe across the grain of brushed stainless steel.
- ❌ Don't use a dirty cloth for the final polish — it can simply redistribute grease and residue.
Stainless steel may be durable, but it isn't scratch-proof. CHOICE notes that stainless steel can smudge and scratch, while manufacturer guidance also warns against abrasive materials on certain finishes.
🔍 What About Scratches?
Here's an important distinction:
A scratch isn't dirt.
If a mark remains after cleaning, don't automatically keep scrubbing.
You may simply be looking at a scratch, scuff or change in the finish.
Trying to remove it with increasingly abrasive materials can make the area look worse by creating additional scratches.
If the surface has significant damage, check the manufacturer's care or repair guidance before attempting any restoration.
💡 Stainless Steel Cheat Sheet
| Problem | What to try first |
|---|---|
| Fingerprints | Warm soapy water + soft cloth |
| Light grease | Warm water + small amount of dishwashing liquid |
| Water marks | Clean, then dry thoroughly |
| Streaks | Remove residue and buff with clean microfiber |
| Stubborn suitable marks | Gentle non-scratch cleaning tool |
| Visible grain | Wipe in the direction of the grain |
| Persistent mark | Check whether it is actually a scratch or finish damage |
| Specialty finish | Follow the manufacturer's cleaning instructions |
🌟 The Final-Buff Habit
If you only remember one thing from this article, make it this:
Don't finish cleaning stainless steel with more cleaner. Finish it with a clean, dry microfiber cloth.
That final buff can make the difference between:
😐 “I cleaned it.”
and
✨ “Wow, that looks clean!”
💡 More Handy Cleaning Tips
Discover more practical ideas in our 🧽 Cleaning & Home Care series — including shower screens, kitchen sinks, bathroom grout, glass, appliances, DIY cleaning solutions and everyday cleaning mysteries.
Clean smarter. Keep it simple. Make everyday cleaning easier.
⚠️ Cleaning Safety Note: Always check the manufacturer's care instructions before using a cleaning product or homemade solution. Test an unfamiliar method on a small, inconspicuous area first, especially on specialty finishes. Never use abrasive materials or incompatible cleaning products on stainless steel.
You May Also Like
On Sale
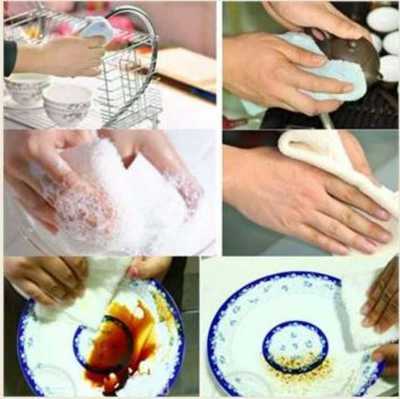
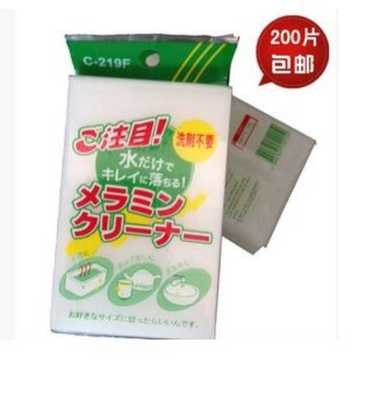
4 x Multi-Purpose Anti-Bacterial Grease Resistant Cleaning Cloth
4 x Multi-Purpose Anti-Bacterial Grease Resistant Cleaning Cloth
SKU HCA232AGC
was AU$24.00
Save 17%
AU$20.00
On Sale
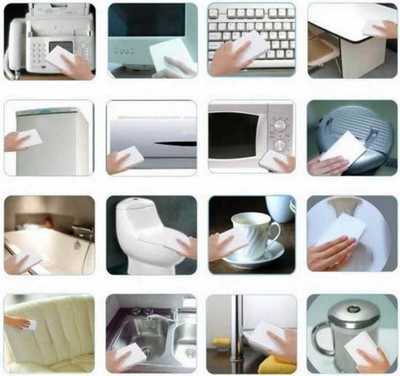
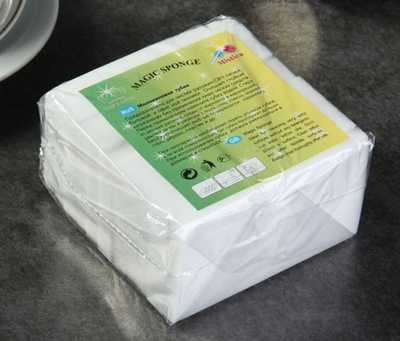
Multi-Purpose Stain Removing Cleaning Sponges for Leatherworks
Multi-Purpose Stain Removing Cleaning Sponges for Leatherworks
SKU HCA230M
was AU$24.00
Save 17%
AU$20.00
On Sale
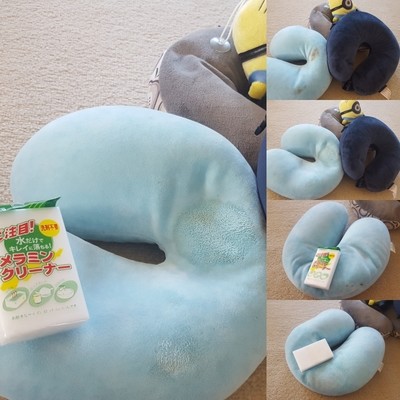
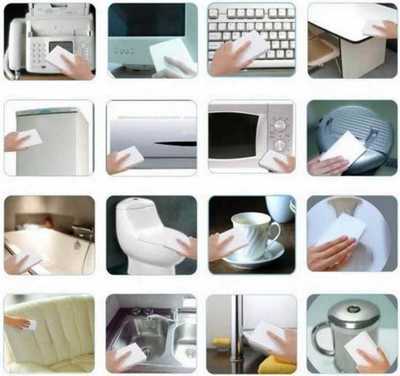
4 x Multi-Purpose Stain Removing Cleaning Sponge for Leatherworks
4 x Multi-Purpose Stain Removing Cleaning Sponge for Leatherworks
SKU HCA230J
was AU$24.00
Save 17%
AU$20.00
On Sale
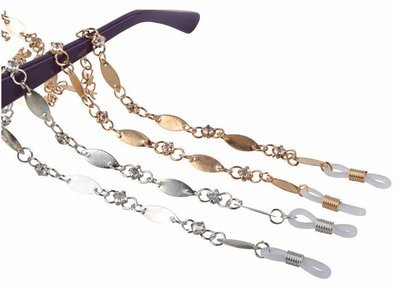
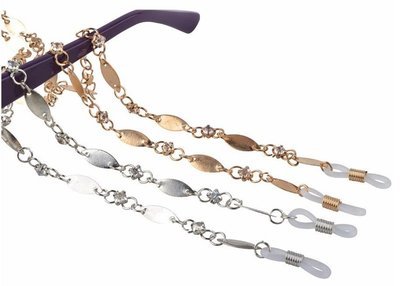
60cm Elegant Metallic Gold-Silver Reading Glasses Lanyard-Chain
60cm Elegant Metallic Gold-Silver Reading Glasses Lanyard-Chain
SKU AEC117MRN
was AU$24.00
Save 25%
AU$18.00
On Sale


Washable T-shirt Iron-on Transfers - Never Give Up I'm Winner
Washable T-shirt Iron-on Transfers - Never Give Up I'm Winner
SKU DIYTM271NGU
was AU$28.00
Save 14%
AU$24.00
On Sale


3 Pairs 15 Denier Japanese super thin snag resistant panty hose
3 Pairs 15 Denier Japanese super thin snag resistant panty hose
SKU FCLC105JC
was AU$24.00
Save 17%
AU$20.00
Display prices in:AUD
Very impressed with service and quality. Very professional. Thank you
Shane S.
Cuckatoo VIC 3781
1.Couldn't ask for more ... free delivery! What a great seller :) 2. So fast ... free delivery! Fantastic!! Thanks :) 3. Super quick delivery! Perfect seller :)
Lucille W.
St. Peters NSW 2044
It's great, put it on and straight away the pain in my feet went right down
Tiffany G
Toormina NSW 2452
Very fast delivery, product is awesome the self heating actually works !!
Mona B.
Granville NSW 2142
